本文最后更新于:14 天前
查找TensorFlow镜像
seven@seven:~$ sudo docker search tensorflow  -s 10
NAME                                DESCRIPTION                                     STARS               OFFICIAL            AUTOMATED
tensorflow/tensorflow               Official docker images for deep learning fra…   1150
jupyter/tensorflow-notebook         Jupyter Notebook Scientific Python Stack w/ …   86
xblaster/tensorflow-jupyter         Dockerized Jupyter with tensorflow              50                                      [OK]
tensorflow/serving                  Official images for TensorFlow Serving (http…   22
floydhub/tensorflow                 tensorflow                                      14                                      [OK]
bitnami/tensorflow-serving          Bitnami Docker Image for TensorFlow Serving     13                                      [OK]
PULL TensorFlow镜像
seven@seven:~$ sudo docker run -it tensorflow/tensorflow
Unable to find image 'tensorflow/tensorflow:latest' locally
latest: Pulling from tensorflow/tensorflow
3b37166ec614: Pull complete
504facff238f: Pull complete
ebbcacd28e10: Pull complete
c7fb3351ecad: Pull complete
2e3debadcbf7: Pull complete
568ddecd541b: Pull complete
cb5781b11958: Pull complete
c6f383503f95: Pull complete
71dcbb855dc9: Pull complete
5cfd34784f24: Pull complete
c26bfefb0572: Pull complete
88302acc21c8: Pull complete
4c2b848f6d49: Pull complete
...
Status: Downloaded newer image for tensorflow/tensorflow:latest
创建TensorFlow容器–jupyter notebook
seven@seven:~$ docker run --name seven-tensorflow -it -p 8888:8888 -v ~/Docker-tensorflow:/demo tensorflow/tensorflow–name:创建的容器名,即seven-tensorflow
-it:保留命令行运行
p 8888:8888:将本地的8888端口和
http://localhost:8888/映射-v ~/Docker-tensorflow:/demo:将本地的~/Docker-tensorflow挂载到容器内的/demo下
tensorflow/tensorflow :默认是tensorflow/tensorflow:latest,指定使用的镜像
输入以上命令后,默认容器就被启动了,命令行显示
[I 13:16:07.331 NotebookApp] Writing notebook server cookie secret to /root/.local/share/jupyter/runtime/notebook_cookie_secret
[I 13:16:07.347 NotebookApp] Serving notebooks from local directory: /notebooks
[I 13:16:07.347 NotebookApp] The Jupyter Notebook is running at:
[I 13:16:07.347 NotebookApp] http://(7191961747da or 127.0.0.1):8888/?token=2734a3a619e376f876eb72ba562852fa79efd94a5f3f871a
[I 13:16:07.347 NotebookApp] Use Control-C to stop this server and shut down all kernels (twice to skip confirmation).
[C 13:16:07.347 NotebookApp]

    Copy/paste this URL into your browser when you connect for the first time,
    to login with a token:
        http://(7191961747da or 127.0.0.1):8888/?token=2734a3a619e376f876eb72ba562852fa79efd94a5f3f871a
拷贝带token的URL在浏览器打开
http://(7191961747da or 127.0.0.1):8888/?token=257ce32bf00cd16dee9019462f8753a3b06154618885d682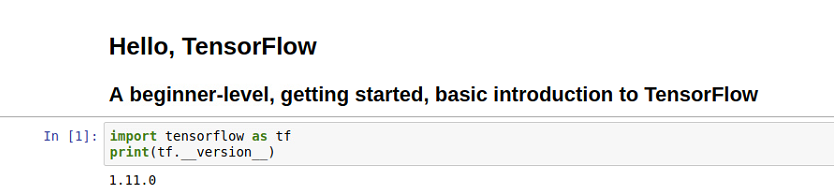
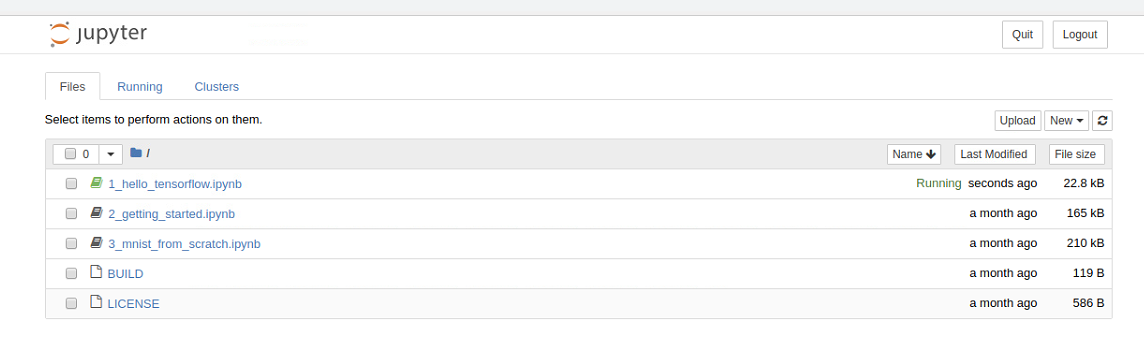
接下来,你就可以在jupyter notebook上运行你的TensorFlow代码啦
关闭容器
seven@seven:~$ sudo docker stop seven-tensorflow
seven-tensorflow
再次打开容器
seven@seven:~$ sudo docker start seven-tensortflow如果不喜欢用Jupyter Notebook,我们也可以创建基于命令行的容器
基于命令行的TensorFlow容器
seven@seven:~$ sudo docker run -it --name bash_tensorflow tensorflow/tensorflow /bin/bash
root@cb158fab4040:/notebooks#
这样我们就创建了名为bash_tensorflow的容器, 并已经进入到容器
验证TensorFlow环境
默认的是python2.x安装的TensorFlowCPU版
root@cb158fab4040:/notebooks# python
Python 2.7.12 (default, Dec  4 2017, 14:50:18)
[GCC 5.4.0 20160609] on linux2
Type "help", "copyright", "credits" or "license" for more information.
>>> import tensorflow
>>> import tensorflow as tf
>>> print tf.__version__
1.11.0本博客所有文章除特别声明外,均采用 CC BY-SA 3.0协议 。转载请注明出处!