本文最后更新于:14 天前
openCV图片灰度处理一
import cv2  # 导入cv库
img0 = cv2.imread('image0.jpg',0)
img1 = cv2.imread('image0.jpg',1)
print(img0.shape)
print(img1.shape)
cv2.imshow('src',img0)
openCV图片灰度处理二
import cv2
img = cv2.imread('image0.jpg',1)
dst = cv2.cvtColor(img,cv2.COLOR_BGR2GRAY)# 颜色空间转换 1 data 2 BGR gray
cv2.imshow('dst',dst)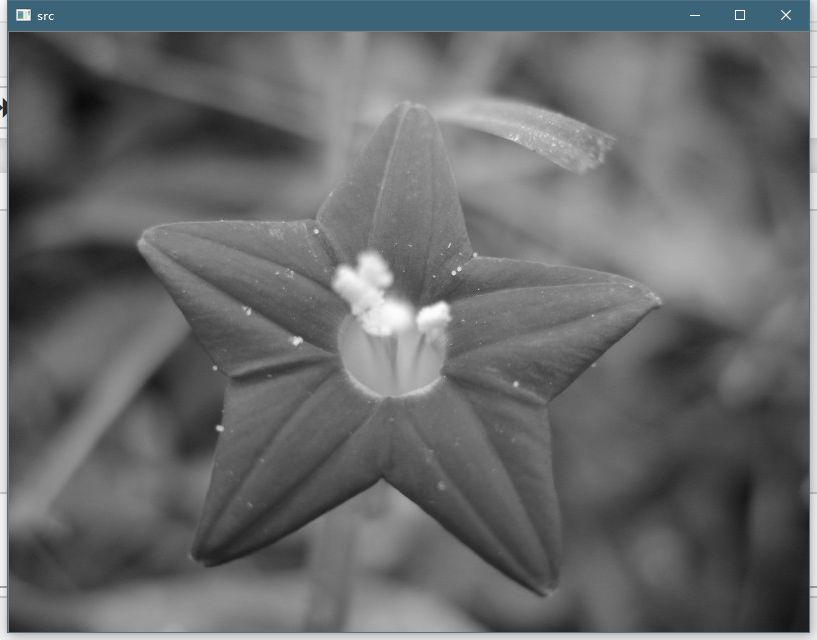
openCV图片灰度处理三
import cv2
import numpy as np
img = cv2.imread('image0.jpg',1)
imgInfo = img.shape
height = imgInfo[0]
width = imgInfo[1]
# RGB R=G=B = gray  (R+G+B)/3
dst = np.zeros((height,width,3),np.uint8)
for i in range(0,height):
    for j in range(0,width):
        (b,g,r) = img[i,j]
        gray = (int(b)+int(g)+int(r))/3
        dst[i,j] = np.uint8(gray)
cv2.imshow('dst',dst)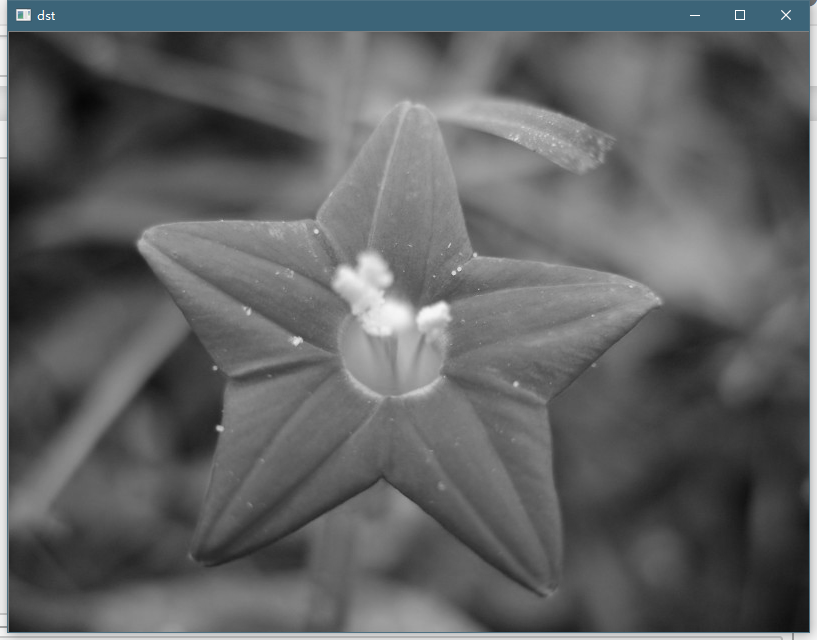
openCV图片灰度处理四
#方法4 gray = r*0.299+g*0.587+b*0.114
import cv2
import numpy as np
img = cv2.imread('image0.jpg',1)
imgInfo = img.shape
height = imgInfo[0]
width = imgInfo[1]
dst = np.zeros((height,width,3),np.uint8)
for i in range(0,height):
    for j in range(0,width):
        (b,g,r) = img[i,j]
        b = int(b)
        g = int(g)
        r = int(r)
        gray = r*0.299+g*0.587+b*0.114
        dst[i,j] = np.uint8(gray)
cv2.imshow('dst',dst)
openCV图片灰度处理五-算法优化版
# r*0.299+g*0.587+b*0.114
import cv2
import numpy as np
img = cv2.imread('image0.jpg',1)
imgInfo = img.shape
height = imgInfo[0]
width = imgInfo[1]
# RGB R=G=B = gray  (R+G+B)/3
dst = np.zeros((height,width,3),np.uint8)
for i in range(0,height):
    for j in range(0,width):
        (b,g,r) = img[i,j]
        b = int(b)
        g = int(g)
        r = int(r)
        #
        #gray = (r*1+g*2+b*1)/4
        gray = (r+(g<<1)+b)>>2
        dst[i,j] = np.uint8(gray)
cv2.imshow('dst',dst)
openCV图片颜色反转-灰色
import cv2
import numpy as np
img = cv2.imread('image0.jpg',1)
imgInfo = img.shape
height = imgInfo[0]
width = imgInfo[1]
gray = cv2.cvtColor(img,cv2.COLOR_BGR2GRAY) # 原始图片,灰度api
dst = np.zeros((height,width,1),np.uint8) # 反转矩阵
for i in range(0,height):
    for j in range(0,width):
        grayPixel = gray[i,j]
        dst[i,j] = 255-grayPixel
cv2.imshow('dst',dst)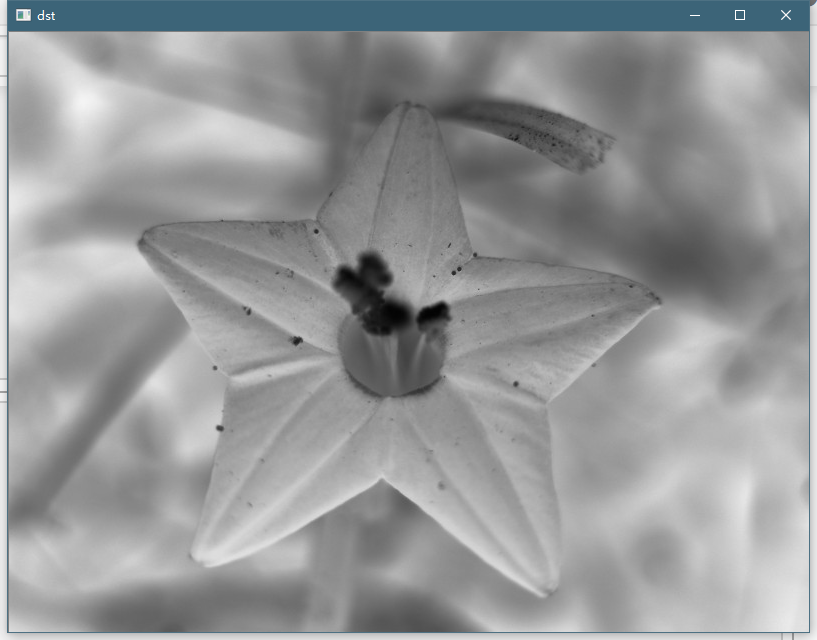
openCV图片颜色反转-彩色
import cv2
import numpy as np
img = cv2.imread('image0.jpg',1)
imgInfo = img.shape
height = imgInfo[0]
width = imgInfo[1]
dst = np.zeros((height,width,3),np.uint8)
for i in range(0,height):
    for j in range(0,width):
        (b,g,r) = img[i,j]
        dst[i,j] = (255-b,255-g,255-r)
cv2.imshow('dst',dst)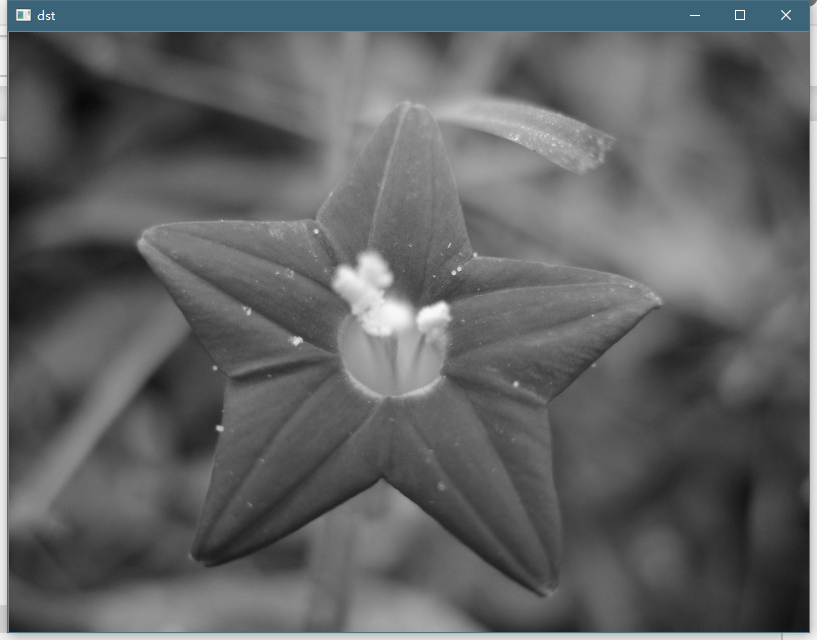
openCV图片马赛克
import cv2 # 导入cv库
import numpy as np
img = cv2.imread('image0.jpg',1) # 读取图片文件, 1:彩色, 0:灰色
cv2.imshow('src',img)
imgInfo = img.shape  # 获取图片的维度
height = imgInfo[0]
width = imgInfo[1]
for m in range(100,300):
    for n in range(100,200):
        # pixel ->10*10
        if m%10 == 0 and n%10==0:
            for i in range(0,10):
                for j in range(0,10):
                    (b,g,r) = img[m,n]
                    img[i+m,j+n] = (b,g,r)
cv2.imshow('dst',img)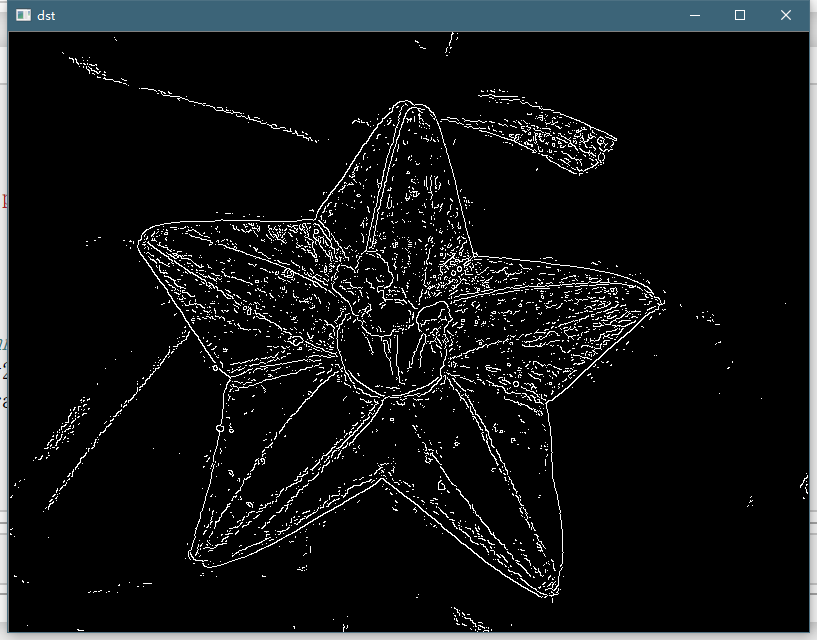
openCV图片毛玻璃
import cv2 # 导入cv库
import numpy as np
img = cv2.imread('image0.jpg',1) # 读取图片文件, 1:彩色, 0:灰色
cv2.imshow('src',img)
imgInfo = img.shape  # 获取图片的维度
height = imgInfo[0]
width = imgInfo[1]
dst = np.zeros((height,width,3),np.uint8)
mm = 8
for m in range(0,height-mm):
    for n in range(0,width-mm):
        index = int(random.random()*8)#0-8
        (b,g,r) = img[m+index,n+index]
        dst[m,n] = (b,g,r)
cv2.imshow('dst',dst)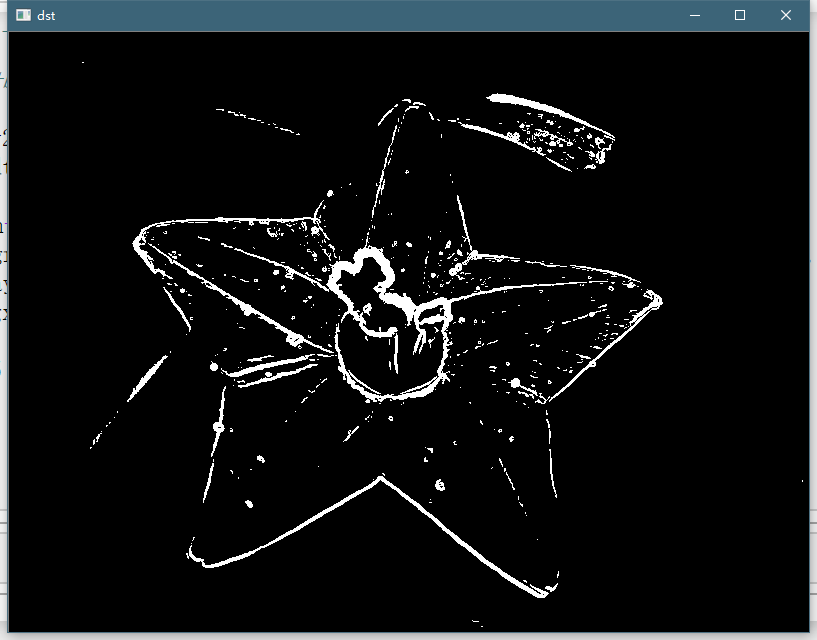
openCV图片融合
# dst  = src1*a+src2*(1-a)
import cv2
import numpy as np
img0 = cv2.imread('image0.jpg',1)
img1 = cv2.imread('image1.jpg',1)
imgInfo = img0.shape
height = imgInfo[0]
width = imgInfo[1]
# ROI
roiH = int(height/2)
roiW = int(width/2)
img0ROI = img0[0:roiH,0:roiW]
img1ROI = img1[0:roiH,0:roiW]
# dst
dst = np.zeros((roiH,roiW,3),np.uint8)
dst = cv2.addWeighted(img0ROI,0.5,img1ROI,0.5,0)#add src1*a+src2*(1-a)
# 1 src1 2 a 3 src2 4 1-a
cv2.imshow('dst',dst)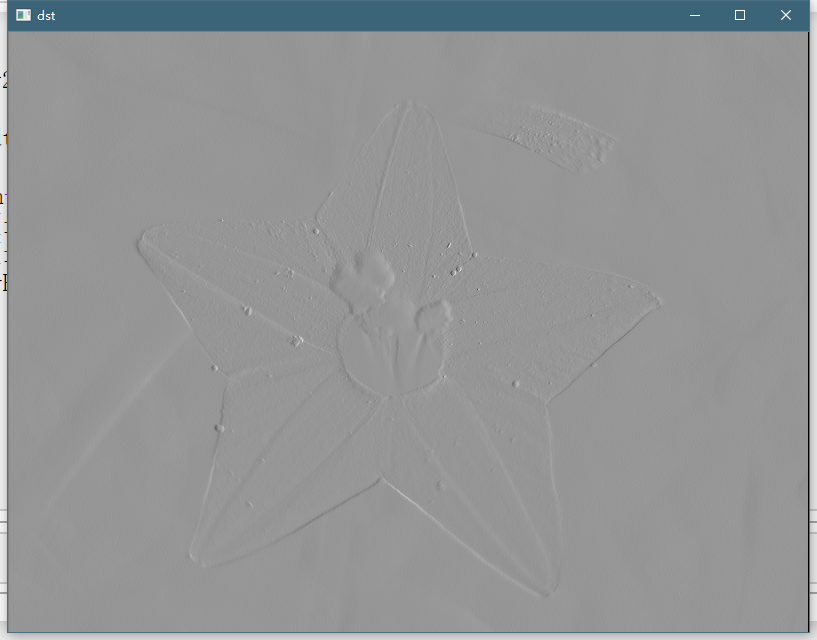
openCV边缘检测一
import cv2
import numpy as np
import random
img = cv2.imread('image0.jpg',1)
imgInfo = img.shape
height = imgInfo[0]
width = imgInfo[1]
cv2.imshow('src',img)
#canny 1 gray 2 高斯 3 canny
gray = cv2.cvtColor(img,cv2.COLOR_BGR2GRAY)
imgG = cv2.GaussianBlur(gray,(3,3),0)
dst = cv2.Canny(img,50,50) #图片卷积——》th
cv2.imshow('dst',dst)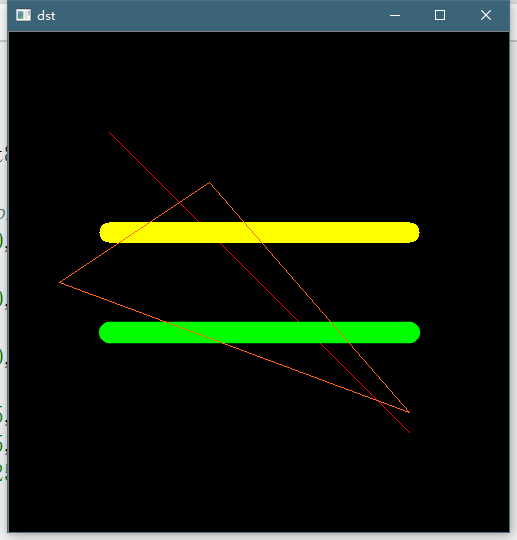
openCV边缘检测二
import cv2
import numpy as np
import random
import math
img = cv2.imread('image0.jpg',1)
imgInfo = img.shape
height = imgInfo[0]
width = imgInfo[1]
cv2.imshow('src',img)
# sobel 1 算子模版 2 图片卷积 3 阈值判决
# [1 2 1          [ 1 0 -1
#  0 0 0            2 0 -2
# -1 -2 -1 ]       1 0 -1 ]

# [1 2 3 4] [a b c d] a*1+b*2+c*3+d*4 = dst
# sqrt(a*a+b*b) = f>th
gray = cv2.cvtColor(img,cv2.COLOR_BGR2GRAY)
dst = np.zeros((height,width,1),np.uint8)
for i in range(0,height-2):
    for j in range(0,width-2):
        gy = gray[i,j]*1+gray[i,j+1]*2+gray[i,j+2]*1-gray[i+2,j]*1-gray[i+2,j+1]*2-gray[i+2,j+2]*1
        gx = gray[i,j]+gray[i+1,j]*2+gray[i+2,j]-gray[i,j+2]-gray[i+1,j+2]*2-gray[i+2,j+2]
        grad = math.sqrt(gx*gx+gy*gy)
        if grad>50:
            dst[i,j] = 255
        else:
            dst[i,j] = 0
cv2.imshow('dst',dst)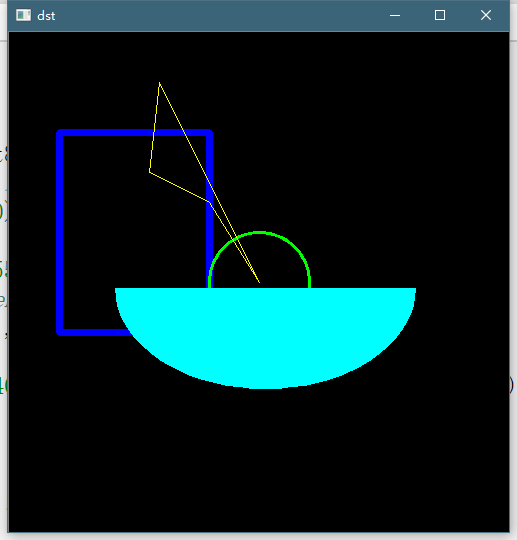
openCV图像浮雕风格
import cv2
import numpy as np
img = cv2.imread('image0.jpg',1)
imgInfo = img.shape
height = imgInfo[0]
width = imgInfo[1]
gray = cv2.cvtColor(img,cv2.COLOR_BGR2GRAY)
# newP = gray0-gray1+150
dst = np.zeros((height,width,1),np.uint8)
for i in range(0,height):
    for j in range(0,width-1):
        grayP0 = int(gray[i,j])
        grayP1 = int(gray[i,j+1])
        newP = grayP0-grayP1+150
        if newP > 255:
            newP = 255
        if newP < 0:
            newP = 0
        dst[i,j] = newP
cv2.imshow('dst',dst)
openCV图片颜色风格
import cv2
import numpy as np
img = cv2.imread('image0.jpg',1)
cv2.imshow('src',img)
imgInfo = img.shape
height = imgInfo[0]
width = imgInfo[1]
#rgb -》RGB new “蓝色”
# b=b*1.5
# g = g*1.3
dst = np.zeros((height,width,3),np.uint8)
for i in range(0,height):
    for j in range(0,width):
        (b,g,r) = img[i,j]
        b = b*1.5
        g = g*1.3
        if b>255:
            b = 255
        if g>255:
            g = 255
        dst[i,j]=(b,g,r)
cv2.imshow('dst',dst)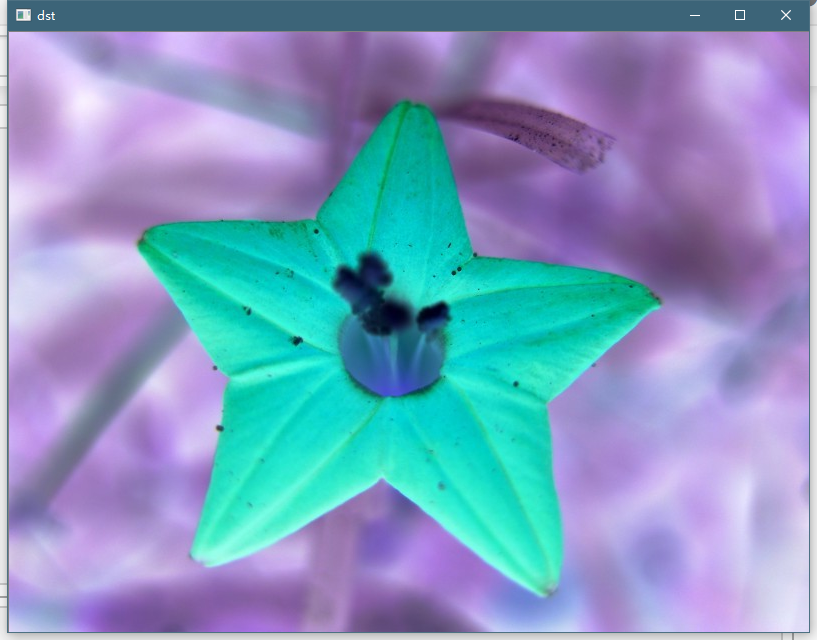
openCV油画特效
import cv2
import numpy as np
img = cv2.imread('image00.jpg',1)
cv2.imshow('src',img)
imgInfo = img.shape
height = imgInfo[0]
width = imgInfo[1]
gray = cv2.cvtColor(img,cv2.COLOR_BGR2GRAY)
dst = np.zeros((height,width,3),np.uint8)
for i in range(4,height-4):
    for j in range(4,width-4):
        array1 = np.zeros(8,np.uint8)
        for m in range(-4,4):
            for n in range(-4,4):
                p1 = int(gray[i+m,j+n]/32)
                array1[p1] = array1[p1]+1
        currentMax = array1[0]
        l = 0
        for k in range(0,8):
            if currentMax<array1[k]:
                currentMax = array1[k]
                l = k
        # 简化 均值
        for m in range(-4,4):
            for n in range(-4,4):
                if gray[i+m,j+n]>=(l*32) and gray[i+m,j+n]<=((l+1)*32):
                    (b,g,r) = img[i+m,j+n]
        dst[i,j] = (b,g,r)
cv2.imshow('dst',dst)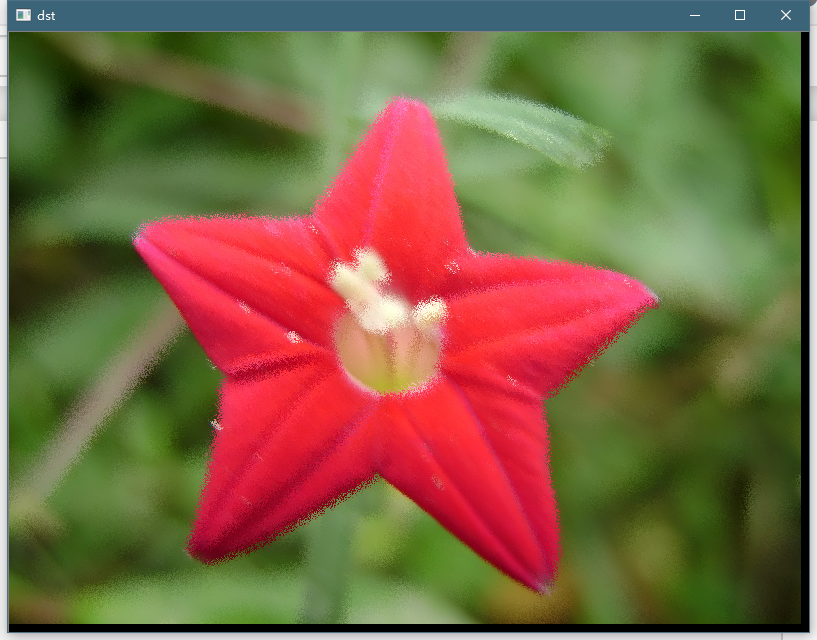
openCV线段绘制
import cv2
import numpy as np
newImageInfo = (500,500,3)
dst = np.zeros(newImageInfo,np.uint8)
# line
# 绘制线段 1 dst 2 begin 3 end 4 color
cv2.line(dst,(100,100),(400,400),(0,0,255))
# 5 line w
cv2.line(dst,(100,200),(400,200),(0,255,255),20)
# 6 line type
cv2.line(dst,(100,300),(400,300),(0,255,0),20,cv2.LINE_AA)

cv2.line(dst,(200,150),(50,250),(25,100,255))
cv2.line(dst,(50,250),(400,380),(25,100,255))
cv2.line(dst,(400,380),(200,150),(25,100,255))

cv2.imshow('dst',dst)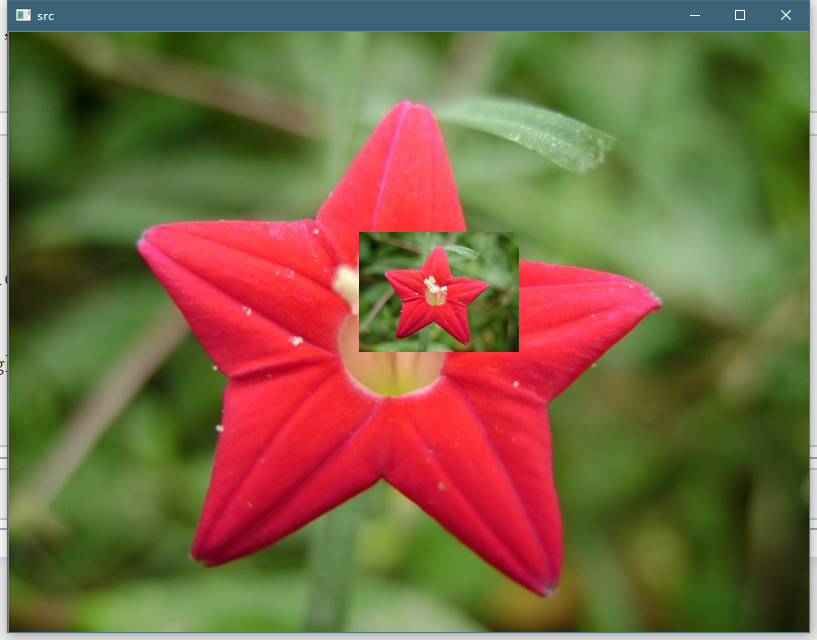
openCV矩形圆形绘制
import cv2
import numpy as np
newImageInfo = (500,500,3)
dst = np.zeros(newImageInfo,np.uint8)
#  1 2 左上角 3 右下角 4 5 fill -1 >0 line w
cv2.rectangle(dst,(50,100),(200,300),(255,0,0),5)
# 2 center 3 r
cv2.circle(dst,(250,250),(50),(0,255,0),2)
# 2 center 3 轴 4 angle 5 begin 6 end 7
cv2.ellipse(dst,(256,256),(150,100),0,0,180,(255,255,0),-1)

points = np.array([[150,50],[140,140],[200,170],[250,250],[150,50]],np.int32)
print(points.shape)
points = points.reshape((-1,1,2))
print(points.shape)
cv2.polylines(dst,[points],True,(0,255,255))
cv2.imshow('dst',dst)
openCV文字绘制
import cv2
import numpy as np
img = cv2.imread('image0.jpg',1)
font = cv2.FONT_HERSHEY_SIMPLEX
cv2.rectangle(img,(200,100),(500,400),(0,255,0),3)
# 1 dst 2 文字内容 3 坐标 4 5 字体大小 6 color 7 粗细 8 line type
cv2.putText(img,'this is flow',(100,300),font,1,(200,100,255),2,cv2.LINE_AA)
cv2.imshow('src',img)
openCV图片绘制
import cv2
img = cv2.imread('image0.jpg',1)
height = int(img.shape[0]*0.2)
width = int(img.shape[1]*0.2)
imgResize = cv2.resize(img,(width,height))
for i in range(0,height):
    for j in range(0,width):
        img[i+200,j+350] = imgResize[i,j]
cv2.imshow('src',img)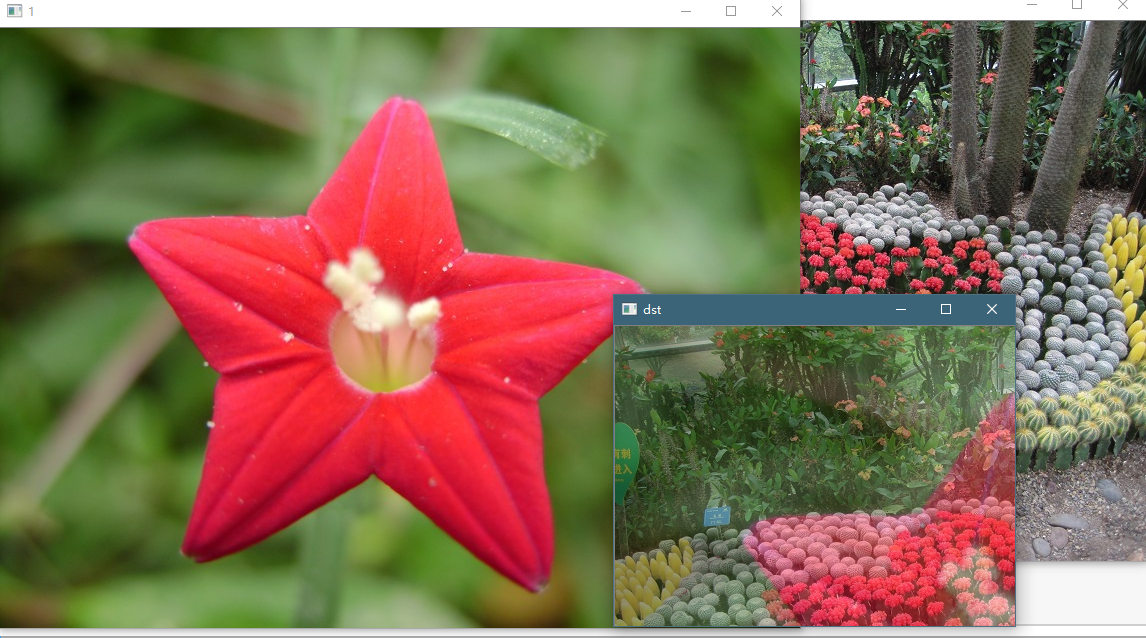
本博客所有文章除特别声明外,均采用 CC BY-SA 3.0协议 。转载请注明出处!